Handheld Inventory Scanner Setup (on Windows XP SP2)
Currently only the cordless Casio Business DT-X5M30U Handheld Terminal is supported.
-
Download and install the IRXpress USB Infrared drivers 2.4. Keep default options, but restart later.
- Download and install Microsoft ActiveSync 3.8 (more recent versions should also work). Keep all default options. Cancel the "Get Connected" wizard. Do not connect the base cradle or scanner to the computer yet.
- Restart Windows.
- Download LmWin32 Download/Upload Utility 6.0 (zipped).
- Extract the contents to a folder on the hard drive.
- Open the extracted folder and run setup.exe. Keep all default options.
- After the install is complete, find the lmwin.ini provided from the previous ZIP file, and Copy it.
- Paste the copy to C:\Program Files\lmwin\. Click Yes to confirm INI replacement.
- Next, Copy lmwin32.exe.
- Navigate to C:\Documents and Settings\All Users\Start Menu\Programs\Startup\.
- Use the "Paste Shortcut" command to put a shortcut of the lmwin32 into the startup directory (above).
- Restart Windows to ensure LMWIN32 is running in the background. This is used for adding stock to DT later.
- Connect the scanner to the system with these steps:
- Open LmWin32, if it is not already active.
- Connect just the cradle base to the PC (via USB), without the scanner docked. Wait a few seconds.
- Turn the cradle on. Wait and let Windows find and configure the Casio IR driver. Keep clicking Next if a wizard appears.
- Power on the handheld scanner. Then, place the Inventory Scanner into the cradle bay. Wait a few seconds.
- Open Microsoft ActiveSync (WCESMgr) in Windows. Do not click Next or do anything yet.
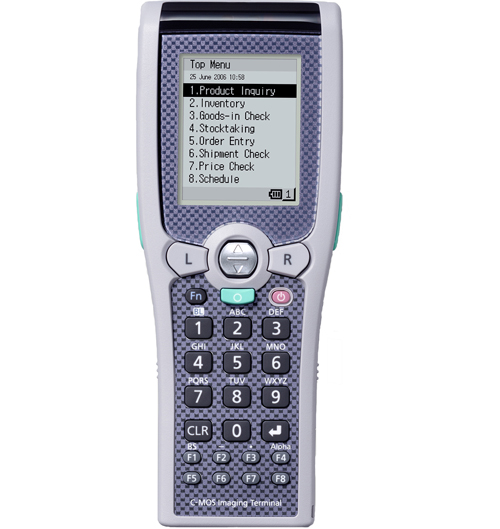
- On the scanner LCD, navigate to Top Menu > 1. Programs > 4. Communication and select "3. ActiveSync".
- When connected, the PC's ActiveSync window will process, and an
icon will appear on the device LCD. Sometimes, re-opening ActiveSync on
the PC may be required.
- Select NO when prompted create a Partnership.
- Download the Inventory Scanner Device CAB file.
- From the ActiveSync window, choose File > Explore (or click the big Explore button).
- Open "My Device" on the window.
- Navigate to Windows > Programs > User Application.
- Drag and drop (copy) the ABCInventory_WCE4.SH3.CAB (from above) to this location.
- It then should be deployed. Close that particular window.
- On the device, press the "CLR" button to move backwards through the
menus. Then, choose Top Menu > Programs > User Applications.
- On the device, select the ABCInventory file name. It should convert automatically.
- Press the CLR button to navigate back to Top Menu > "1. Programs".
- "1. ABCInventory" should be the first item in the list. Select it.
It should install. If an error occurs once, push the green button
harder.
- It should then be ready to scan barcodes for overriding DT Inventory. The exit password is 4859.
- To mute sounds, go to Top Menu > 2. Settings > 9. Buzzer > 2. Mute Settings > 1. Key Click and select "2. ON"
- To disable the password, options.ini (in Program Files\ABCInventory) can be copied and edited with ActiveSync and blanked out.
- To allow for more scan patterns, IMGSet.ini (same directory) can also be modified.